When storms move through, roof damage can appear fast. Small openings let water in, and even a little leak can turn into a bigger problem overnight.
A quick, calm plan helps you protect your home and keep repair costs under control. The steps below show what to do first, what to document, and how to move from emergency fixes to durable repairs.
Assess Safety First
Start by checking for hazards from the ground. Look for downed wires, leaning trees, loose metal, or shingles hanging by a corner.
Recent federal reporting shows how often big events stack up, which is why early caution matters. One national climate summary noted dozens of billion-dollar disasters in 2024, so many storms can push local resources to their limits.
If you smell gas, see sparks, or notice ceiling sagging, step outside. Call your utility or local nonemergency number to report obvious safety issues.
Do not climb on a wet or wind-damaged roof. Binoculars, phone zoom, and good lighting beat ladders in the first hours.
Document The Damage Clearly
Photograph everything before you move items or place a tarp. Capture wide shots of each side of the home, then zoom in on problem areas.
Take pictures of missing shingles, lifted flashing, bent gutters, and debris patterns. Record dates and times on your phone, and keep a simple list that matches the photos.
Inside, photograph stained ceilings, damp walls, and any wet flooring. Place a ruler or common object in the frame to show scale.
Save receipts for supplies like tarps, plastic sheeting, and fans. Clear records help later when you speak with your insurer or a contractor.
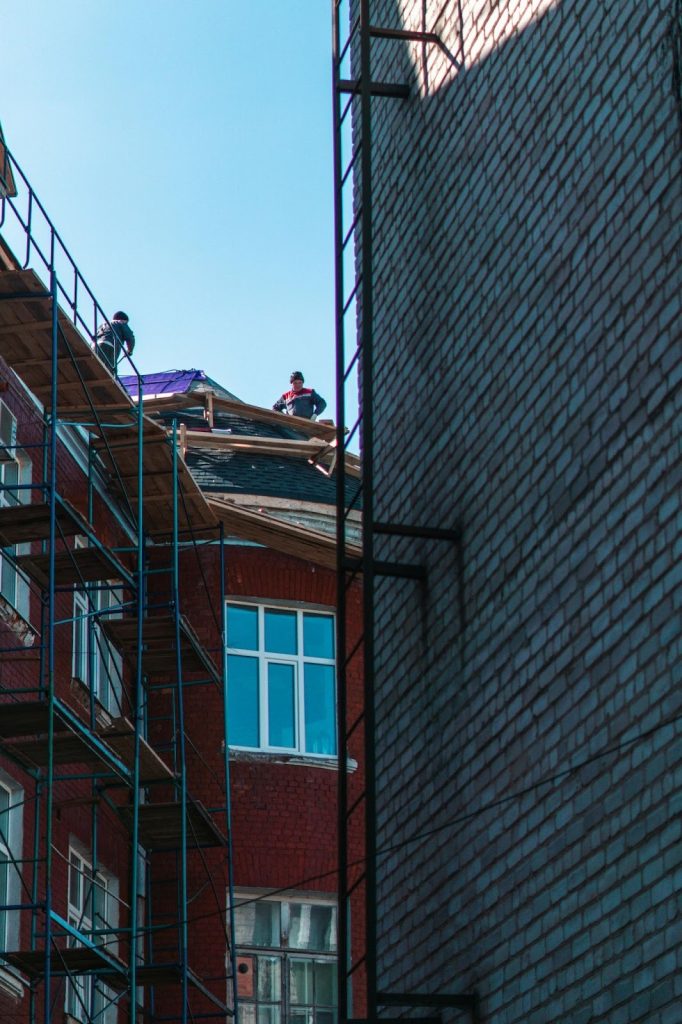
Schedule A Professional Inspection
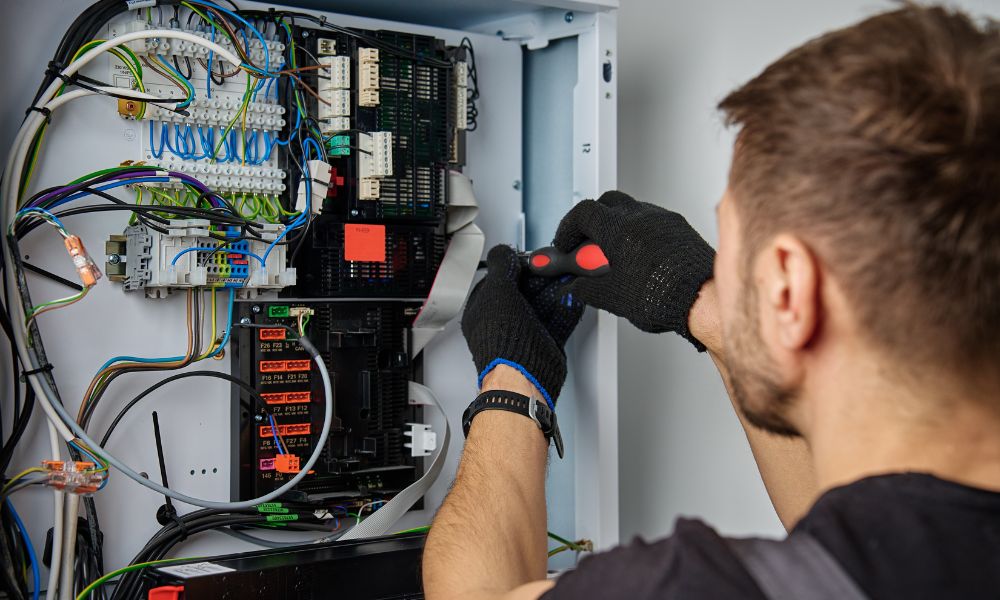
A licensed roofer can spot issues that are easy to miss from the ground. They know how to read shingle patterns, flashing lines, and attic clues that point to leaks.
Ask for clear photos with notes and a short video walkthrough. Request a simple diagram that labels the layers of a roof and marks which parts are damaged so you can follow the plan. If the deck feels soft, rafters are split, or walls show cracking, an engineer may be needed. That extra check confirms the safest repair path and helps with permitting if required.
Book the earliest appointment you can, then confirm it the day before. If schedules are backed up, ask about emergency tarping or temporary sealing to prevent new damage.
Understand Your Roof System Basics
Your roof is a system of parts that must work together. It is built from coordinated roof layers that each handle a job. Knowing the order helps you describe damage clearly.
Shingles or panels shed most water, but underlayment is the last barrier. Decking provides structure, while flashing and vents guide water away from seams.
When you report damage, naming the part helps the pro plan the fix. Say whether the issue is with shingles, flashing, vents, or decking.
This small vocabulary shift speeds estimates and reduces back-and-forth. Clear terms lead to clearer scopes of work.
Move Fast On Temporary Protection
If water is entering, act on containment right away. Set buckets, move furniture, and pull back rugs from wet areas.
Use plastic sheeting and tape to create quick interior barriers. On the exterior, a properly anchored tarp can limit new leaks until repairs start.
Do not nail into areas you suspect are weak or saturated. If you are unsure about roof access, ask a pro for emergency tarping instead.
Keep the home ventilated while things dry. Fans and dehumidifiers help slow mold growth in the first 24 to 48 hours.
Empty buckets often and wipe up drips to prevent slick floors. Keep children and pets clear of work zones to reduce accidents. When the weather calms, do a quick ground-level walkaround to confirm the tarp is tight and new water is not entering.
Start The Insurance Process The Smart Way
Call your insurer as soon as you have basic documentation. Share a short summary of what happened, where the roof is leaking, and what you did to protect the home.
Ask how emergency work should be handled so coverage is not at risk. Some policies want photos before tarping, while others stress preventing further damage first.
- List the date and time of the storm and any police or utility reports.
- Provide 6 to 12 exterior photos plus 6 to 12 interior photos.
- Keep receipts for tarps, plastic, fans, and temporary lodging if needed.
- Note every conversation with names, dates, and short action items.
Request clarity on next steps (inspection, adjuster visit, and timelines). Simple, dated notes make the rest of the process smoother.
Prevent Secondary Damage Inside The Home
Water spreads along the framing and ceilings before it drips. That means the wet spot you see may be the end of a longer path.
Poke a small weep hole in the bulging ceiling bubbles to drain trapped water. Place a bucket below and protect the floor with plastic or a tray.
Remove wet insulation that has lost its loft. Drywall that crumbles or stays soft after drying often needs replacement.
Run dehumidifiers and keep air moving until materials feel dry to the touch. Moisture meters help, but clean, dry surfaces are the baseline goal.
Plan Repairs With Durability In Mind
Ask the roofer to explain material choices for your climate. Heavier underlayment, improved flashing details, and ice or water barriers can boost performance.
Several resilient building groups promote tougher roof standards for storm zones. One research organization reported a record number of homes earning a stronger roof designation in 2024, highlighting how better details can improve outcomes.
If your roof is near the end of its life, consider partial upgrades or a planned replacement. Pair needed fixes with preventive improvements to stretch value.
Confirm warranties, ventilation, and attic insulation levels during the visit. The best repair solves the leak and improves the whole system.
Even a well-built roof needs regular care. A short maintenance walkaround each season pays off.
Rapid action does not mean rushed decisions. Pausing to document and protect the home sets up better repairs.
The first hours after damage are about safety, containment, and clarity. With simple steps, you can guide the process without stress and keep the roof working for years.